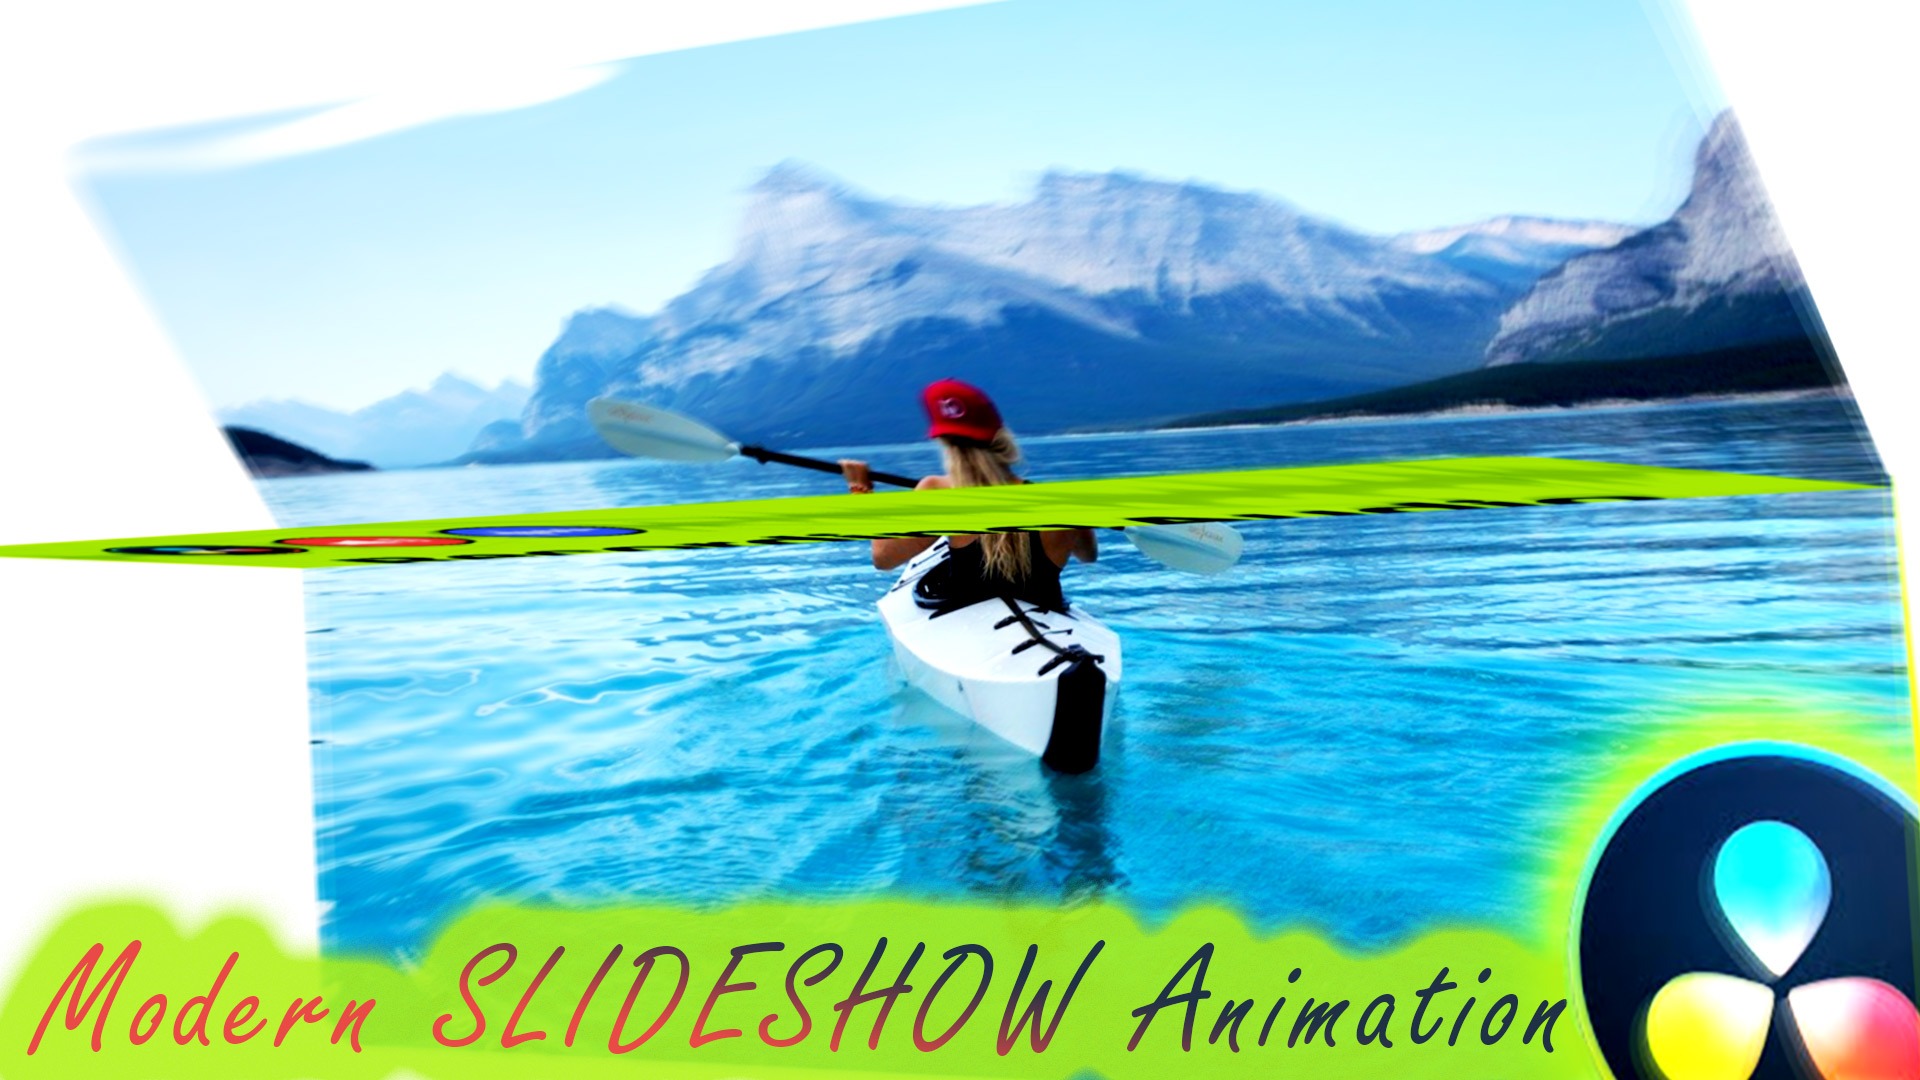
This video shows you all the steps required to build a cool modern slideshow animation in DaVinci Resolve.
You will need some picture of a resolution of at least 1280 by 720 px.
Among others you will learn how to:
- convert an image to an 3d image plane
- use Expressions to change the visibility of an image plane
- use Expressions to change the 3d space position of an image plane
- change the rendering range of an animation for smoother and faster processing
- using Splines editor to add animation smooth splines
- using the Keyframes editor to edit the animation frame start and ending
- using the Keyframes editor to edit the Expressions
- adding lights to an 3d scene
- adding camera in 3d space and animating it
After adding and editing one image, you can reuse its nodes to add as many images/pictures as you want to the slideshow.
As the images are added to the scene, the processing time increases. That is why I use rendering range to decrease the animation range to be rendered, which is very handy in these types of animations in DaVinci Resolve.
After adding the camera and the lights, we achieve more realistic 3d environment, which gives an impression of images wrapped in plastic material.
By the end of this video, you will be able to make this cool slideshow animation.
Try making this tutorial following all the steps and let me know in the comments if you were successful.
If you go through any issues realizing this tutorial, don’t hesitate to note in the comments.
The picture for the thumbnail is taken from: https://pixabay.com/photos/girl-kayak-canoe-kayaking-paddle-1561989/
Thanks for reading!
![]()


