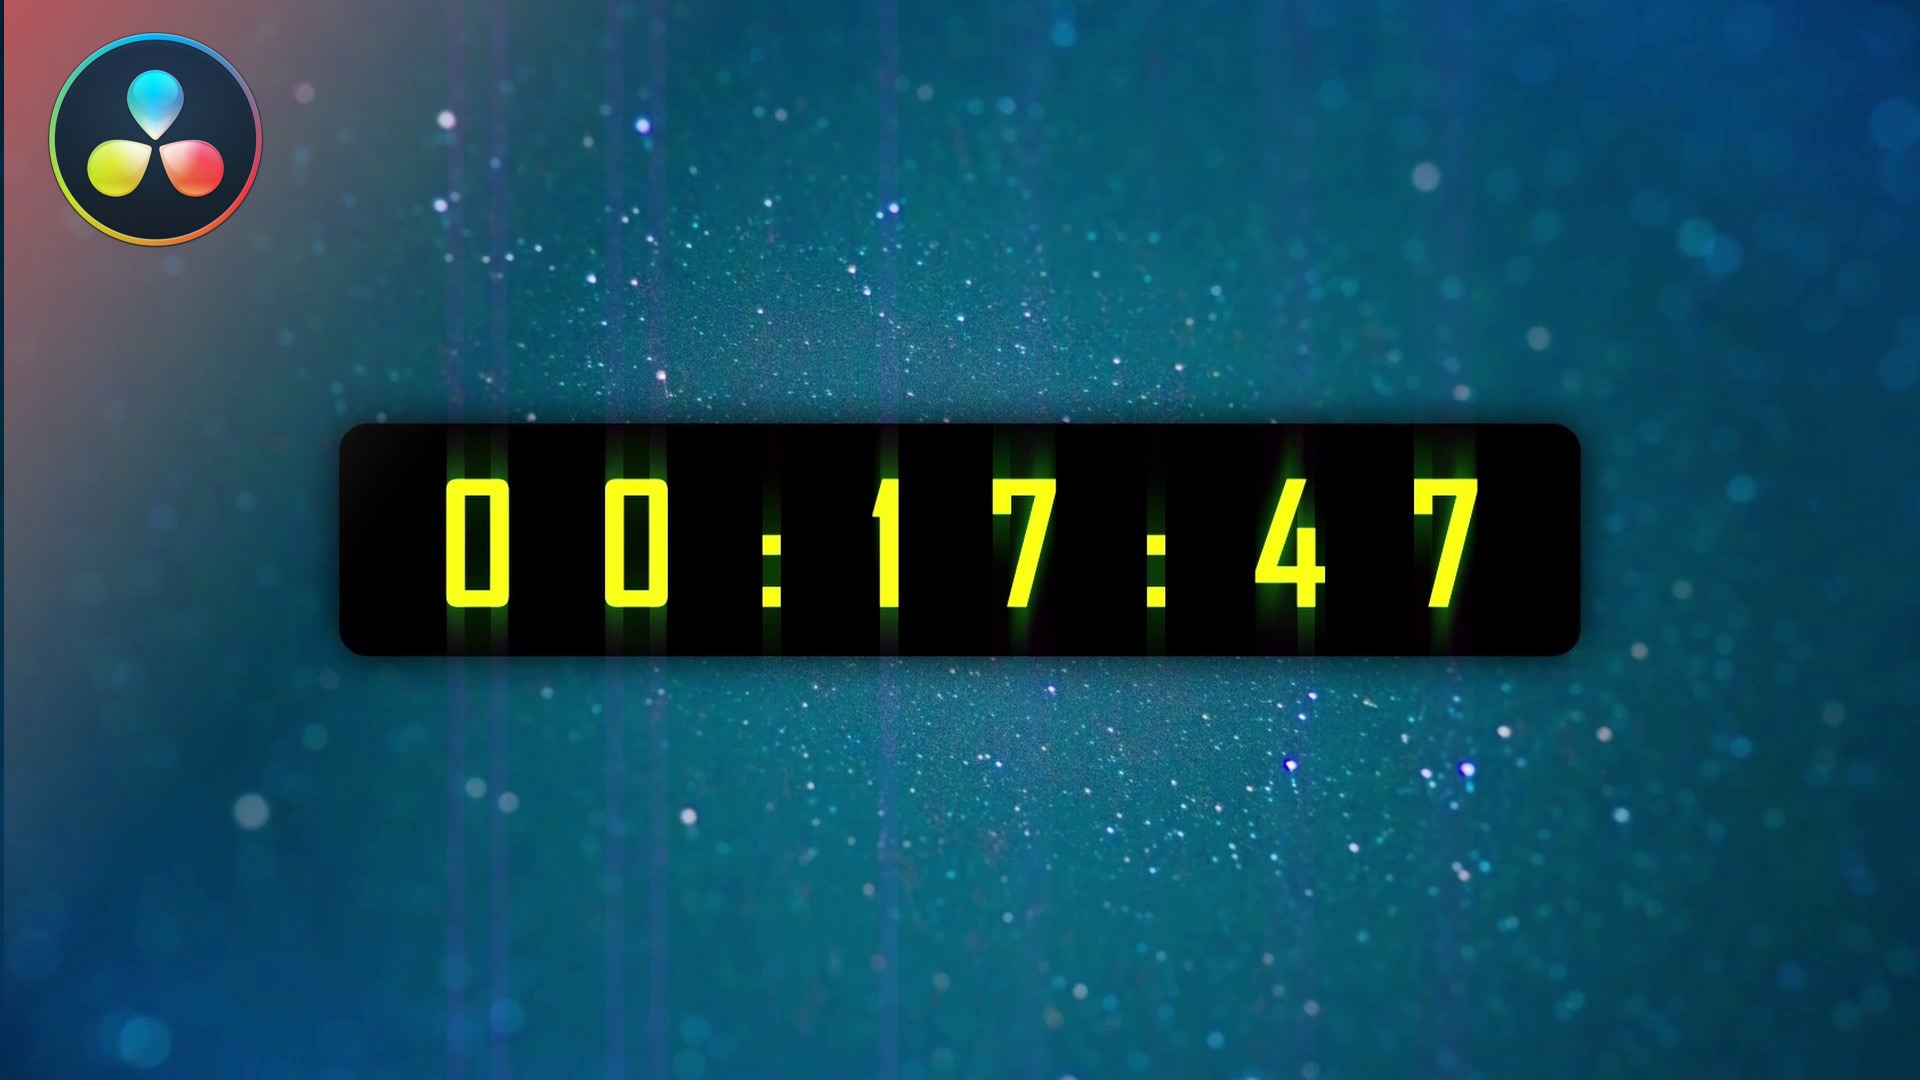
To start with this tutorial, you need to copy this code snippet, which is written in the Lua programming language:
{
	Tools = ordered() {
		DigitalClock = TextPlus {
			CtrlWZoom = false,
			NameSet = true,
			Inputs = {

				Width = Input { Value = 1920, },
				Height = Input { Value = 1080, },

				Font = Input { Value = "Agency FB", },
				Style = Input { Value = "Bold", },
				FrameRenderScriptNest = Input { Value = 1, },
				FrameRenderScript = Input { Value = "DigitalClock.StyledText = os.date('%X')", },

			},

		}
	},
	ActiveTool = "DigitalClock"
}
The code snippet above makes the text view in DaVinci programmable, where you can continue writing the Lua code to print the date, or other text.
To go quickly, the more important lines are described below.
This two lines define the maximum width and the height of the text view. Depending on your project resolution, you will define these lines accordingly. Since, I’ll be working in a high-definition (HD) environment, I will use the 1920 px for the width and 1080 px for the height:
Width = Input { Value = 1920, },
Height = Input { Value = 1080, },
The next two lines define the font and the font style. In this project I will be using the bold “Agency FB” font:
Font = Input { Value = "Agency FB", },
Style = Input { Value = "Bold", },
The next two line, are very important, which activate and make the text view programmable:
FrameRenderScriptNest = Input { Value = 1, },
FrameRenderScript = Input { Value = "DigitalClock.StyledText = os.date('%X')", },
Especially important, is the following sub-string:
DigitalClock.StyledText = os.date('%X')
The line above, prints the time in the format: HH:MM:SS (hours:minutes:seconds).
Remember, when writing the name written befor the StyledText attribute, must match the name of the text plus control defined in the “Active Tool” line of the Lua code snippet above (in the above example is DigitalClock).
To learn more about the os.date and the date and time formatting in Lua:
https://www.lua.org/pil/22.1.html
Leave your comments in the comment section below!
![]()


