Alert Dialog is used very often when building applications. Usually, it is used to warn a user about an action he is about to take. Most of the time, those action are critical and irreversible, before deleting something for example.
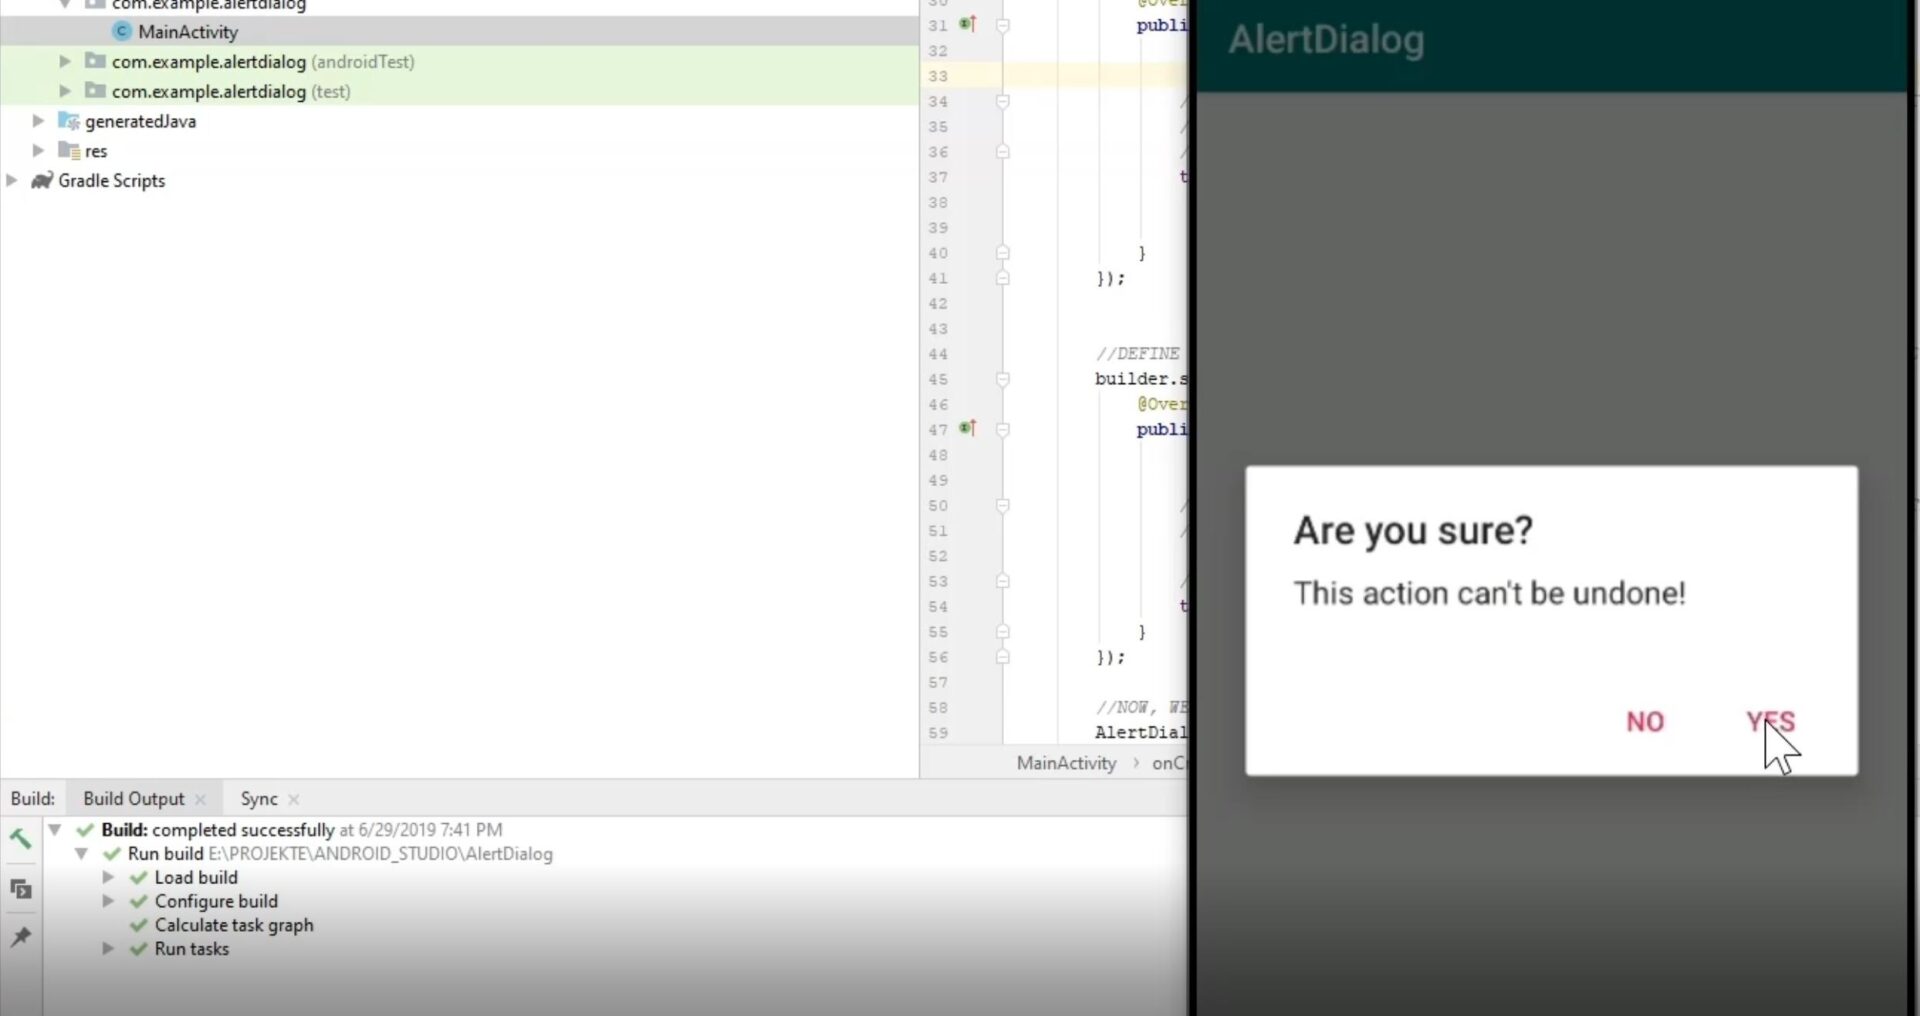
A simple Alert Dialog in Android Studio would show the title, a warning or explanation message and buttons.
Let us see how to build a simple Alert Dialog in Android Studio.
After creating a new empty project in Android Studio, we will start coding the Alert Dialog.
First of all we need to create an Alert Dialog builder and set the parameters. As parameters we define the title and the message of the Alert Dialog.
//FIRST, WE NEED TO CREATE THE ALERT DIALOG BUILDER
AlertDialog.Builder builder = new AlertDialog.Builder(this);

//SET THE TITLE OF THE DIALOG
builder.setTitle("Are you sure?");

//SET THE MESSAGE
builder.setMessage("This action can't be undone!");
Next, we define the function that will be executed if the user clicks in the positive button (in our case, button “Yes”).
Android Studio will help you to auto populate the onClick handler
//WE DEFINE THE FUNCTION, WHEN THE USER CHOOSES "YES"
        builder.setPositiveButton("Yes", new DialogInterface.OnClickListener() {
            @Override
            public void onClick(DialogInterface dialogInterface, int i) {


                //HERE GOES THE LOGIC  OF THE APPLICATION, IF THE USER SELECTS A POSITIVE CHOICE
                //TO TEST IT, WE CAN SET THE VALUE OF THE TEXT VIEW
                //LET'S SET THE TEXT TO YES
                textView.setText("You have selected Yes");


            }
        });
Similarly, we will create the function to handle the action when the user clicks on the negative button (in our case button “No”).
 //DEFINE THE FUNCTION, IF THE USERE CLICKS 'NO', OR SELECTS THE NEGATIVE CHOICE
        builder.setNegativeButton("No", new DialogInterface.OnClickListener() {
            @Override
            public void onClick(DialogInterface dialogInterface, int i) {


                //HERE YOU DEFINE THE LOGIC, IF THE USER SELECTS OR CLICKS THE 'NO' BUTTON
                //USUALLY, NOTHING IS DEFINED HERE, BUT DEPENDS ON YOUR DECISION

                //HERE, LET'S SET THE TEXT TO NO
                textView.setText("You have selected No");
            }
        });
And finally, we create the Alert Dialog from the builder and show it to the screen.
//NOW, WE CREATE THE ALERT DIALG OBJECT
        AlertDialog ad = builder.create();

        //FINALLY, WE SHOW THE DIALOG
        ad.show();
In our case, for demonstration purposes, we have decided to show the Alert Dialog immediately after the Android application is loaded. In real world situation, an Alert Dialog, usually appears after a certain action.
For the purposes of this tutorial, you need to create a text view in your Android application layout and give it an id of myText
<TextView
        android:id="@+id/myText"
        android:layout_width="wrap_content"
        android:layout_height="wrap_content"
        android:text="Hello World!"
        app:layout_constraintBottom_toBottomOf="parent"
        app:layout_constraintLeft_toLeftOf="parent"
        app:layout_constraintRight_toRightOf="parent"
        app:layout_constraintTop_toTopOf="parent" />
Below, you will find the complete Java code of this tutorial:
package com.example.alertdialog;

import androidx.appcompat.app.AlertDialog;
import androidx.appcompat.app.AppCompatActivity;

import android.content.DialogInterface;
import android.os.Bundle;
import android.widget.TextView;

public class MainActivity extends AppCompatActivity {
    private TextView textView;
    @Override
    protected void onCreate(Bundle savedInstanceState) {
        super.onCreate(savedInstanceState);
        setContentView(R.layout.activity_main);

        textView = findViewById(R.id.myText);

        //FIRST, WE NEED TO CREATE THE ALERT DIALOG BUILDER
        AlertDialog.Builder builder = new AlertDialog.Builder(this);

        //SET THE TITLE OF THE DIALOG
        builder.setTitle("Are you sure?");

        //SET THE MESSAGE
        builder.setMessage("This action can't be undone!");

        //WE DEFINE THE FUNCTION, WHEN THE USER CHOOSES "YES"
        builder.setPositiveButton("Yes", new DialogInterface.OnClickListener() {
            @Override
            public void onClick(DialogInterface dialogInterface, int i) {


                //HERE GOES THE LOGIC  OF THE APPLICATION, IF THE USER SELECTS A POSITIVE CHOICE
                //TO TEST IT, WE CAN SET THE VALUE OF THE TEXT VIEW
                //LET'S SET THE TEXT TO YES
                textView.setText("You have selected Yes");


            }
        });


        //DEFINE THE FUNCTION, IF THE USERE CLICKS 'NO', OR SELECTS THE NEGATIVE CHOICE
        builder.setNegativeButton("No", new DialogInterface.OnClickListener() {
            @Override
            public void onClick(DialogInterface dialogInterface, int i) {


                //HERE YOU DEFINE THE LOGIC, IF THE USER SELECTS OR CLICKS THE 'NO' BUTTON
                //USUALLY, NOTHING IS DEFINED HERE, BUT DEPENDS ON YOUR DECISION

                //HERE, LET'S SET THE TEXT TO NO
                textView.setText("You have selected No");
            }
        });

        //NOW, WE CREATE THE ALERT DIALG OBJECT
        AlertDialog ad = builder.create();

        //FINALLY, WE SHOW THE DIALOG
        ad.show();

        //LET'S TEST IT IN THE EMULATOR, OR OUR ANDROID DEVICE

    }
}
This whole tutorial can be found in the below video:
I hope this tutorial has helped you to understand the creation and the usage of a simple Alert Dialog in Android Studio.
If you have any question, please write them here or post them in the YouTube video above.
Thank you!
![]()