Table of Contents
Hello all, in this tutorial you will learn how to do multicam or multi camera rendering in DaVinci Resolve 16.
This one will be a fusion tutorial.
About the Tutorial
The multi cam or multi camera rendering method, allows us to take different camera shots or passes and render them out in just one render or one media export step.
In the tutorial I show you how to add multiple camera nodes.
I also show you how to animate those cameras.
Then, we add a multiple renders, each one connected to a camera node.
Finally, I show you how to transition from one camera to another in one simple step.
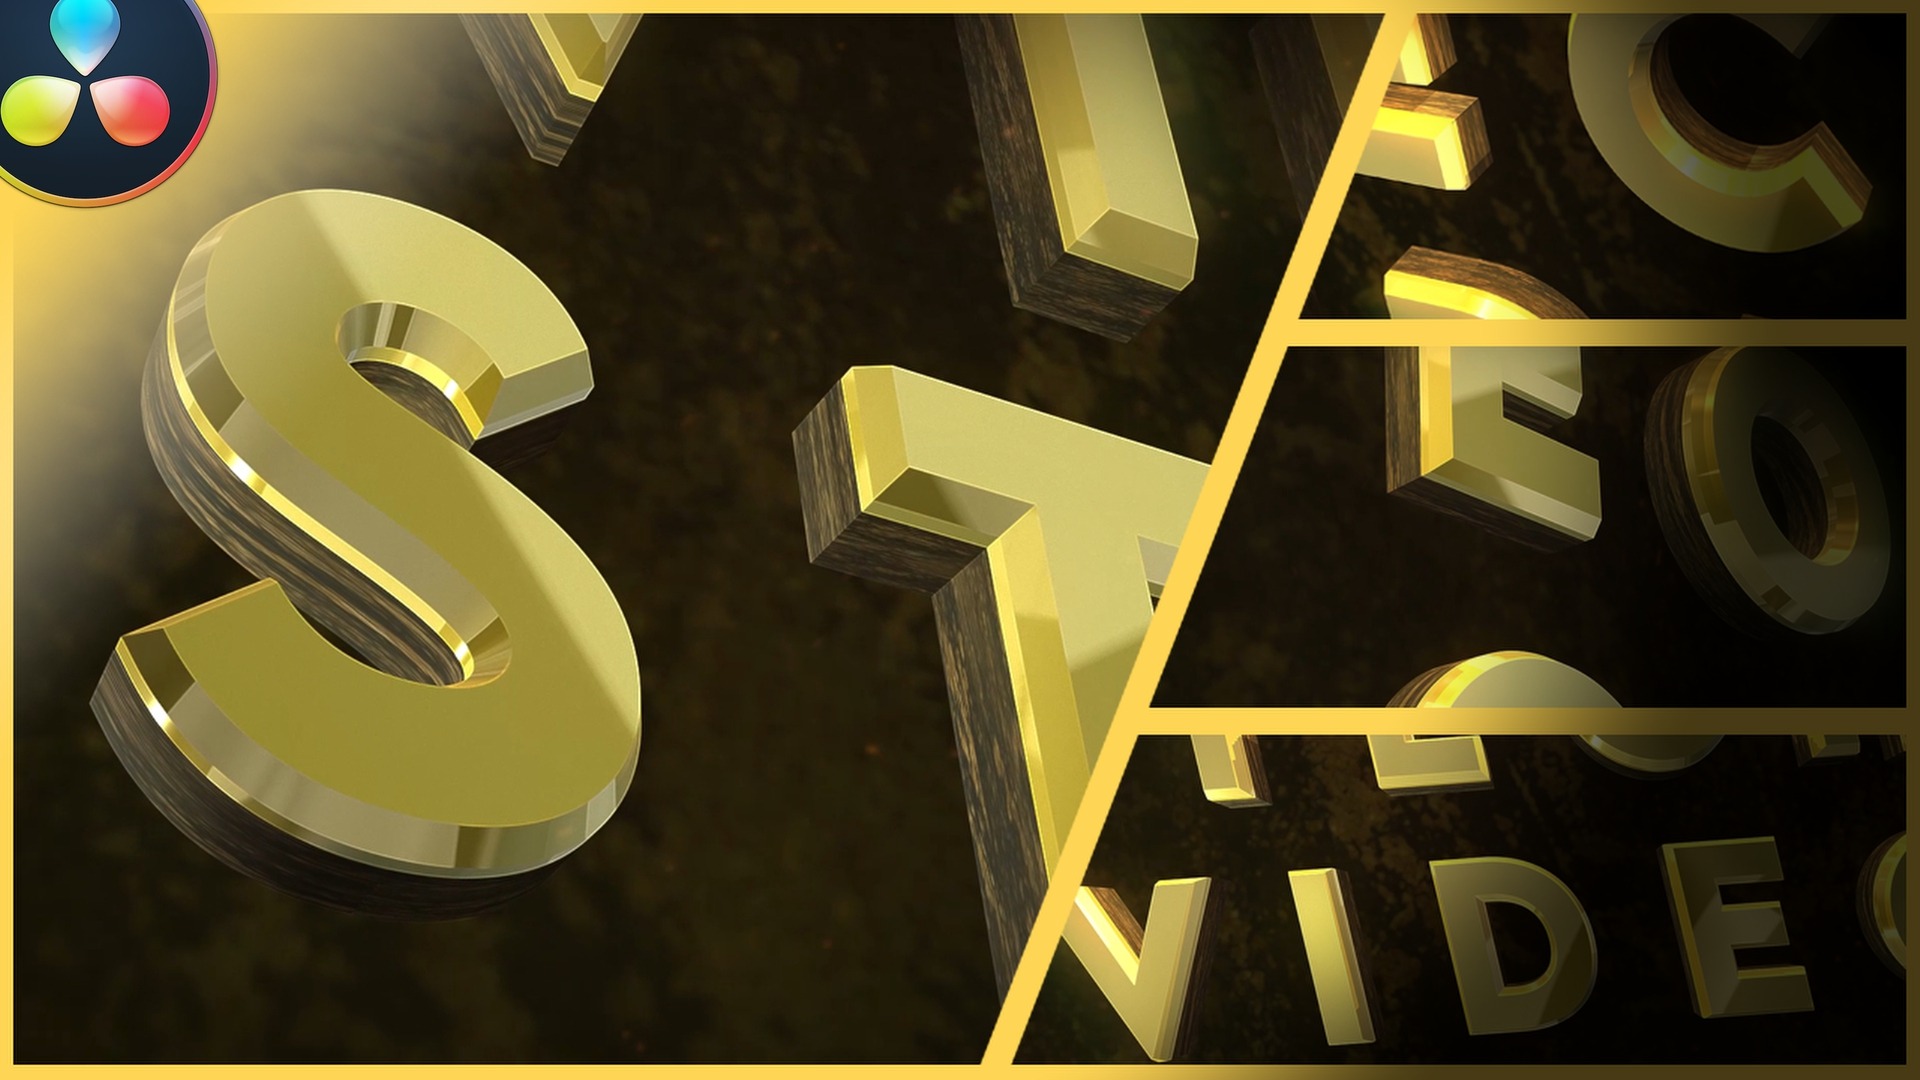
I used this method to create the cinematic title in the beginning of this video.
With this method, you can add as many camera transitions as you like.
Inspiration and Assets
The video below is my inspiration to make this tutorial and animation:
You can take the texture I use in the video from here: https://texturehaven.com/tex/?c=concrete&t=concrete_floor_painted
And the dust particles: https://pixabay.com/videos/particles-green-dust-effect-dark-7958/
More DaVinci Resolve 3D Tutorials
This is my playlist where you can find more DaVinci Resolve 3D Tutorials:
More DaVinci Resolve Fusion Tutorials
This is my playlist where you can find more DaVinci Resolve Fusion Tutorials:
… and Finally All DaVinci Resolve Tutorials in One Place
In this playlist you will find all my DaVinci Resolve tutorials in one place:
My Patreon Profile
I recently joined the Patreon platform.
You can find me there if you follow this: https://www.patreon.com/techvideostack
Follow us:
Facebook: https://www.facebook.com/techvideostack
Instagram: https://www.instagram.com/techvideostack/
Twitter: https://twitter.com/StackVideo
Pixabay: https://pixabay.com/users/techvideostack-13921019/
This is a DaVinci Resolve 16 tutorial, but should work with some earlier versions of Davinci Resolve.
❓ You have any QUESTION? – Leave them in the comments section below.
Thanks for watching
![]()


