Table of Contents
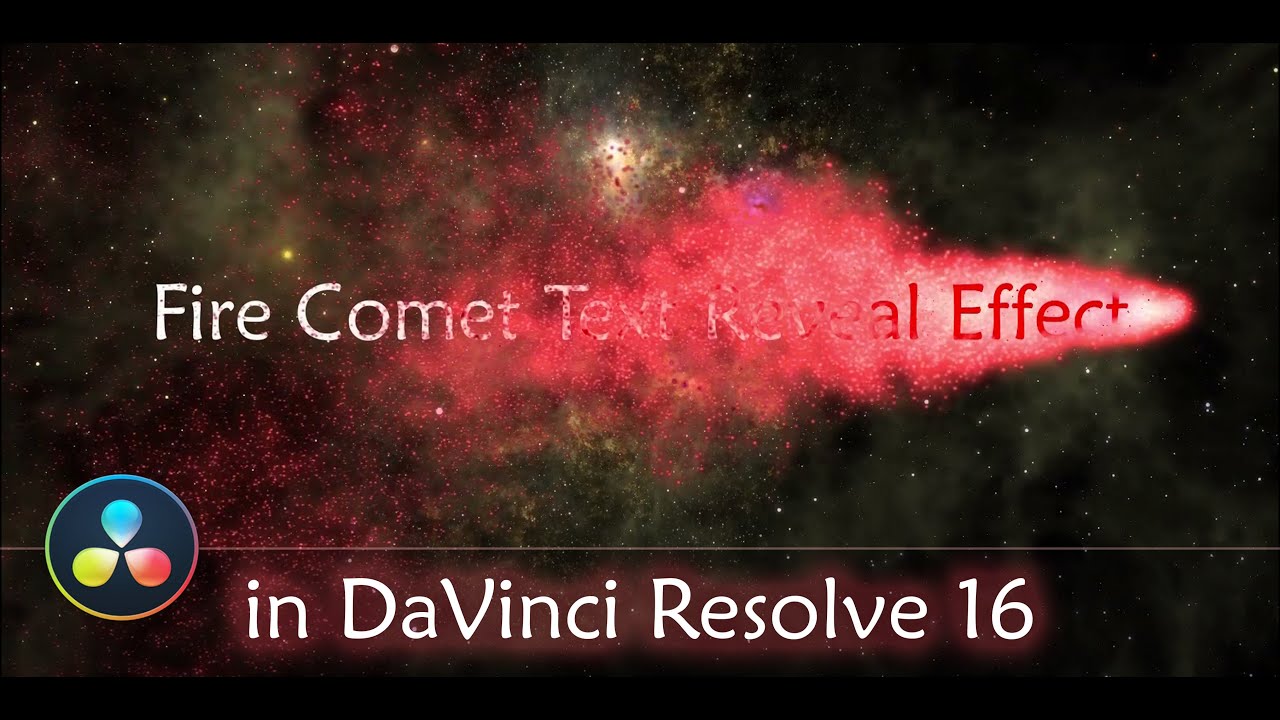
This video is a step by step tutorial on how to create an awesome fire comet text reveal effect using particles in DaVinci Resolve.
The video shows how to use most common settings of the pEmitter node in DaVinci Resolve 16.
We create an animation that looks like a fire comet, which will move from the left to the right of the screen and reveal a text.
I will show you also, how easy it is to add a new clip, with different text.
In the end I add a space video (Nebula Cosmos Stars Galaxy) as a background, which you can get here: https://pixabay.com/videos/nebula-cosmos-stars-galaxy-24623/
Edit Tab
We start by creating a fusion composition. This time I do that, by adding a solid color to the timeline and I convert it to a compound clip.
I name it FireCometCompound.
Fusion Tab
We add the following nodes:
- pEmitter
- pRender
The above node, then we connect to the MediaOut node.
pEmitter Node
We edit the settings of the pEmitter node.
These are the settings of the first tab of the pEmmiter Node:
- Random Seed = 40000
- Emitter Number = 775
- Number Variance = 42.5
- Lifespan Variance = 5.0
- Lifespan = 50
- Color = Use Color from Region
- Position Variance = 0.0071
- Temporal Distribution = Equally distributed
- Velocity = 0.047
- Velocity Variance = 0.063
- Inherit Variance = 0.142
- Angle = -26.1
- Angle Variance = -393.9
- Angle Z = -187.8
- Rotation
- Rotation Mode = Rotation Relative to Motion
In the Style section we apply these changes:
- Style = Blob
- Color Controls
- Alpha = 0.677
- Color Variance
- Red Variance
- Low = -0.975
- High = 0.813
- Green Variance
- Low = -0.762
- High = 0.5
- Blue Variance
- Low = -0.363
- High = 0.425
- Alpha Variance
- Low = -1.0
- High = 0.95
- Red Variance
- Color Over Life Controls
- Alpha = 0.685
- Size Controls
- Size = 0.3465
- Size Variance = 0.1654
- Size to Velocity = 0.143
- Size to Z Scale = 0.693
Next step is to animate the Translation coordinates in the Region section.
Turbulence Node
To add more realistic comet “tale” movement, we add a turbulence node, which help making the particles move in non-linear fashion.
These are the settings for the Turbulence node:
- Random Seed = 23600
- X Strength = 0.039
- Y Strength = 0.717
- Density = 7.1
Post Processing effects
After the pRender node, is time to add the post processing effects.
First, we add a Soft Glow node.
Below are the settings for the Soft Glow node:
- Gain = 2.52
- Blend = 0.701
- Color Scale
- Red Scale = 2.0
- Green Scale = 1.291
- Blue Scale = 1.039
- Alpha Scale = 1.024
You can now play the animation, to see the changes so far.
Adding Text
Next, we add a text node and write the words you want to show.
I write “Fire Comet Text Reveal Effect” as the first sentence.
Then, we create a mask using the polygon node. The mask needs to roughly mimic the comet shape.
Then we animate the mask to follow the comet, as it moves from left to right.
In this way we get the effect, which looks like that as the comet moves it makes each part of the text sentence reveal slowly.
To add more sentences, you just duplicate the compound clip -> go to the fusion tab -> change the text -> and do final adjustments to the animation to have it cover the whole text.
Conlcusion
The Fire Comet Text Reveal effect is a really cool text effect which can be achieved easily in DaVinci Resolve using only the Resolve’s particle system and a text node.
Hope you liked the tutorial and you will find it useful in your next project.
Thanks for visiting us!
![]()


