Table of Contents
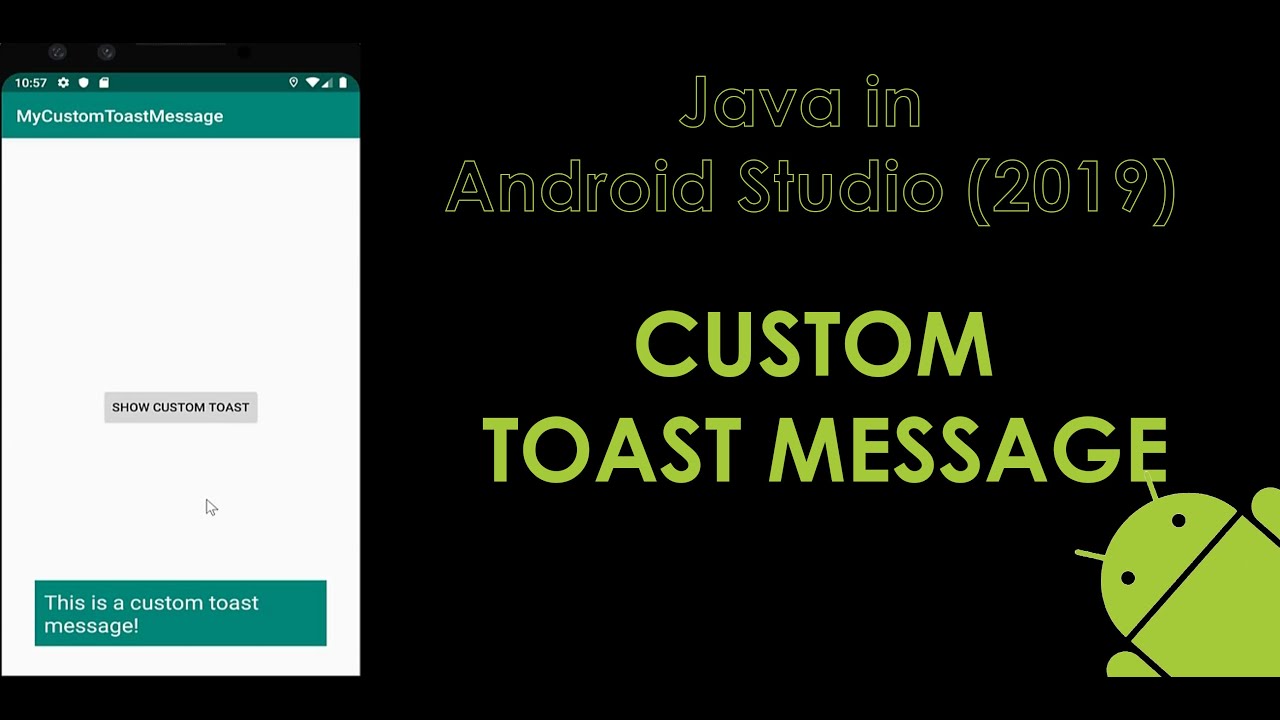
Today you will learn how to build a custom toast message in Android Studio, using Java language.
Starting Project
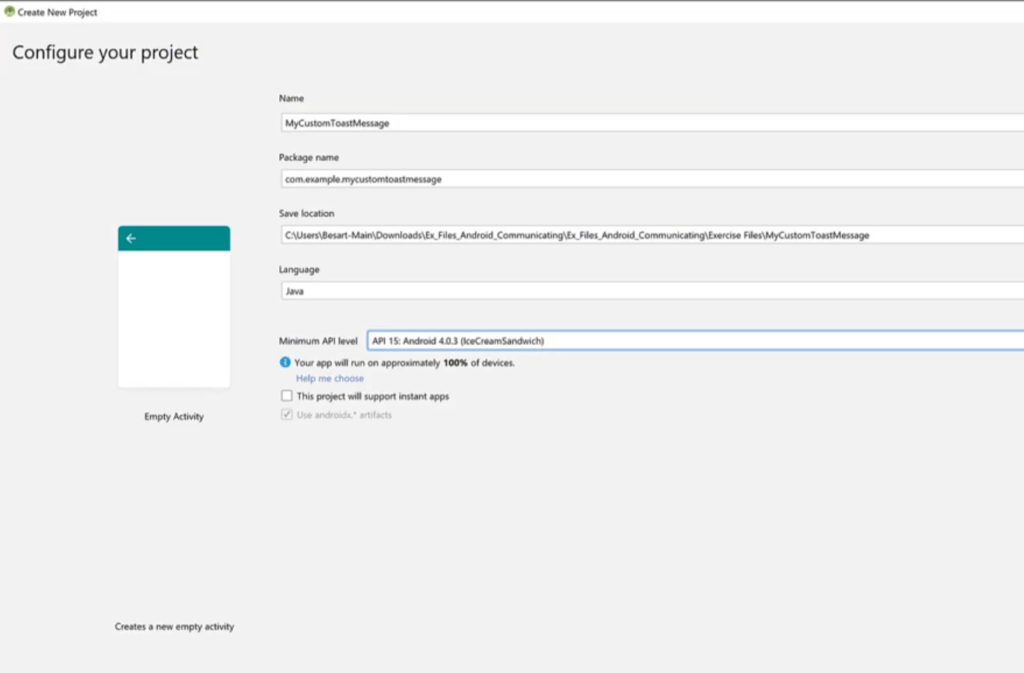
In an empty activity project, I name my project “MyCustomToastMessage” and choose Java for the programming language. For the Minimum API level, I leave it to API 15: Android 4.0.3 (IceCreamSandwich).
After waiting for Gradle to build, we open the MainActivity.
Creating the Layout Resource File
First of all we create the Layout resource file, which will hold our front-end forms.
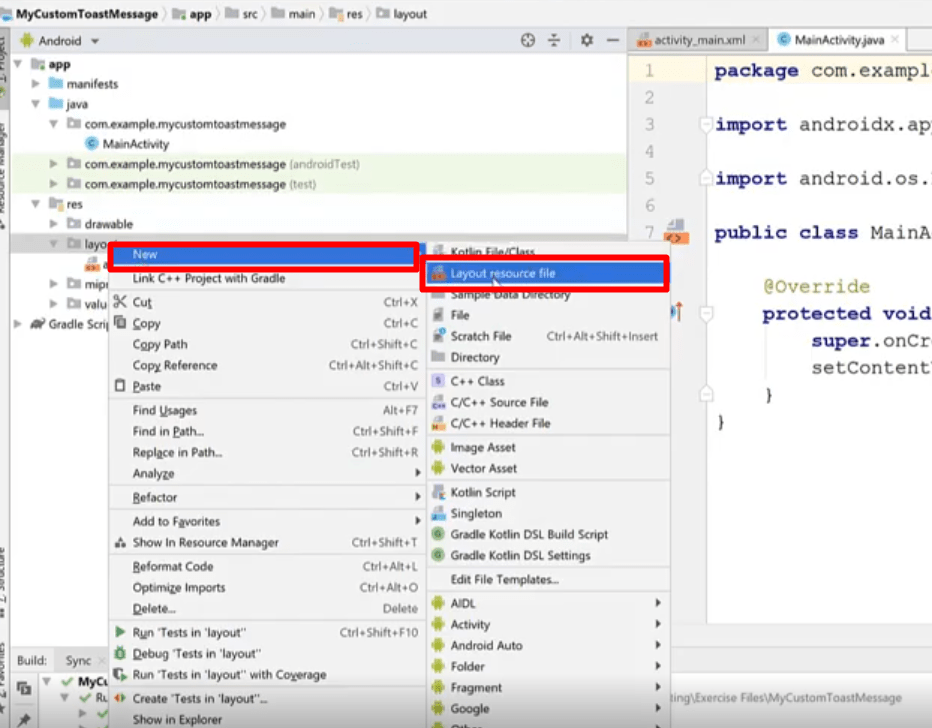
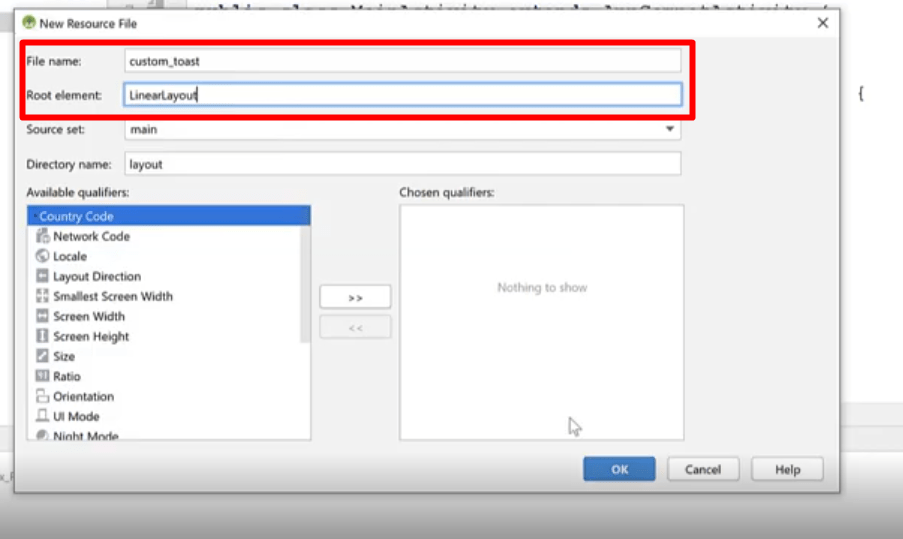
And then I name it custom_toast. I leave the Root element to be of “LinearLayout” type:
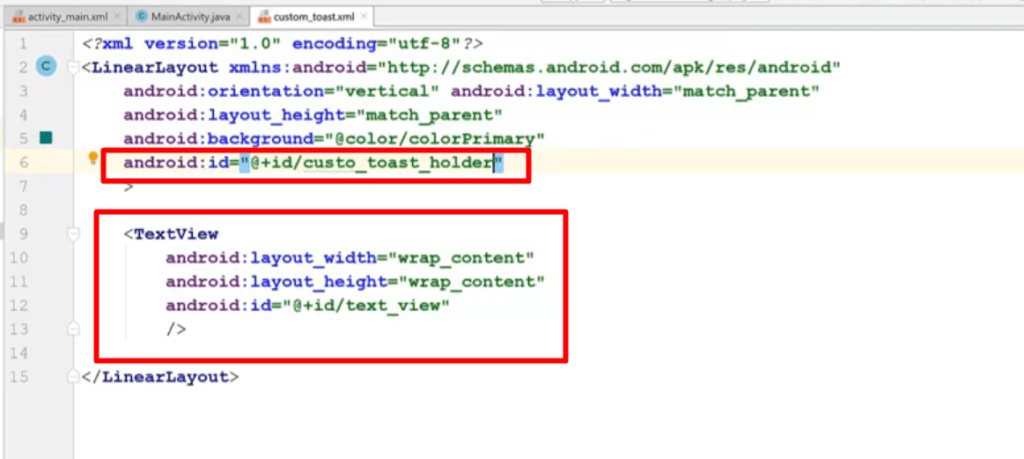
Next, add these lines to your custom_toast.xml file.
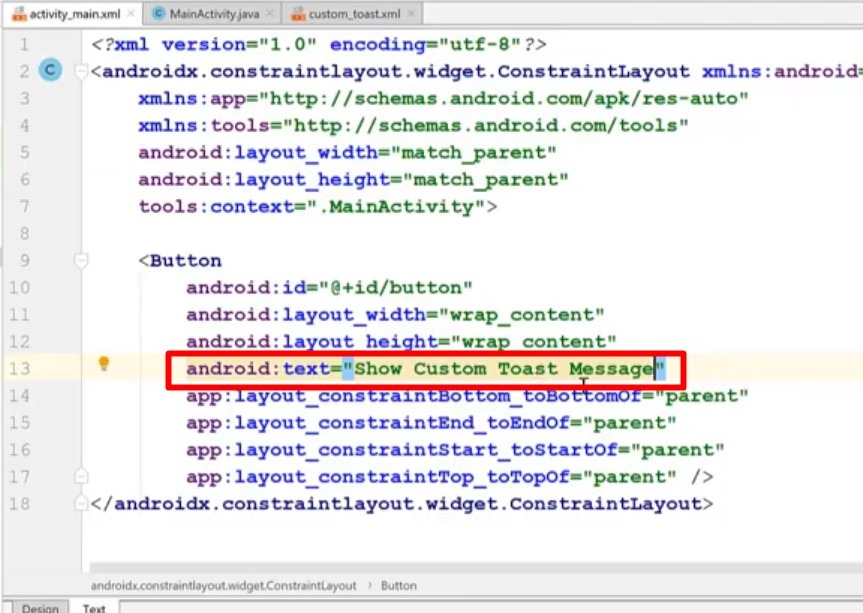
Next, open the activity_main.xml file and delete the text control that is already in there.
Drag a button from the left panel and align it to the middle of the screen, using the constraints in the ConstraintLayout.
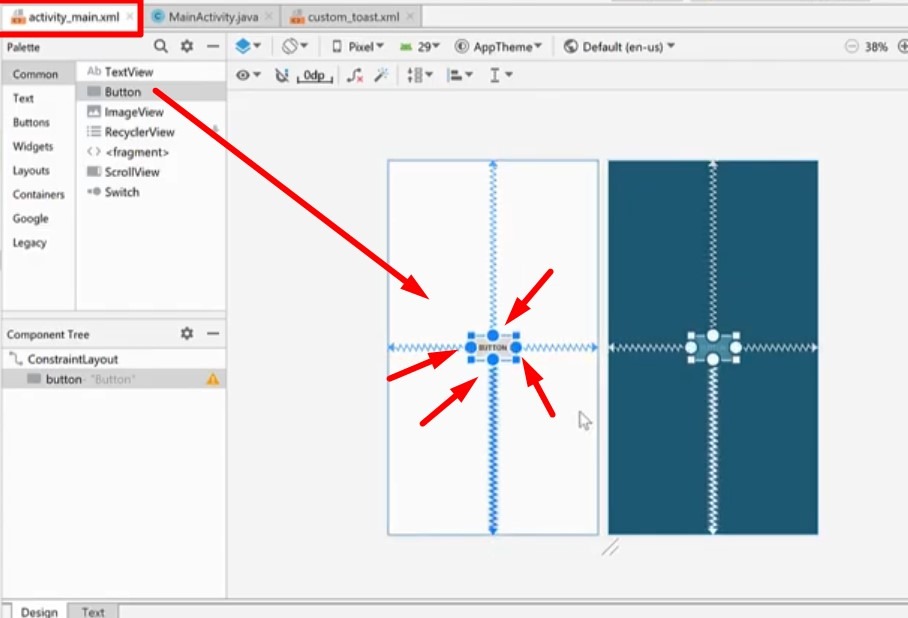
Change the text property of the button to: “Show Custom Toast”.
Java Code
In the MainActivity.java we write the Java code.
First we define the button and then we set the onClickListener method.


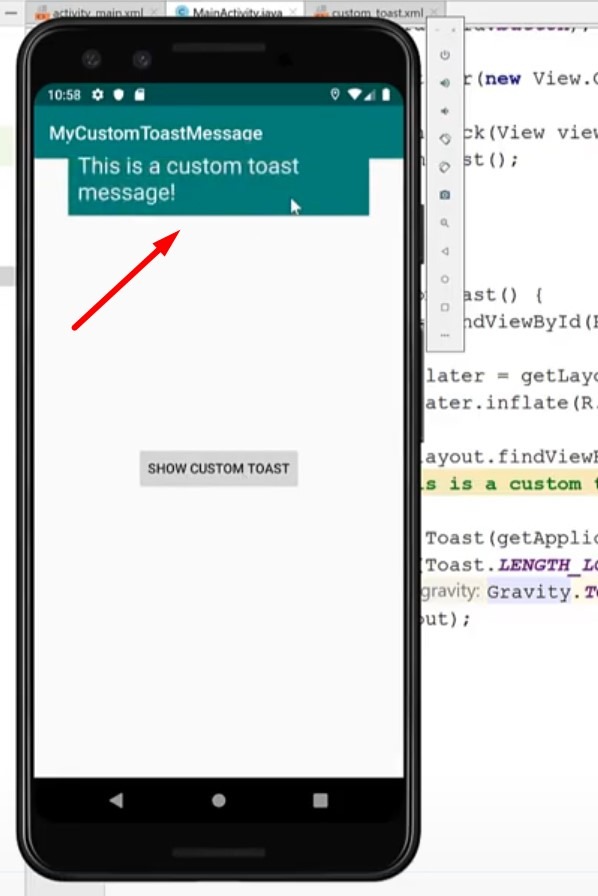
First Application Look
This is what you should see if you run the application.
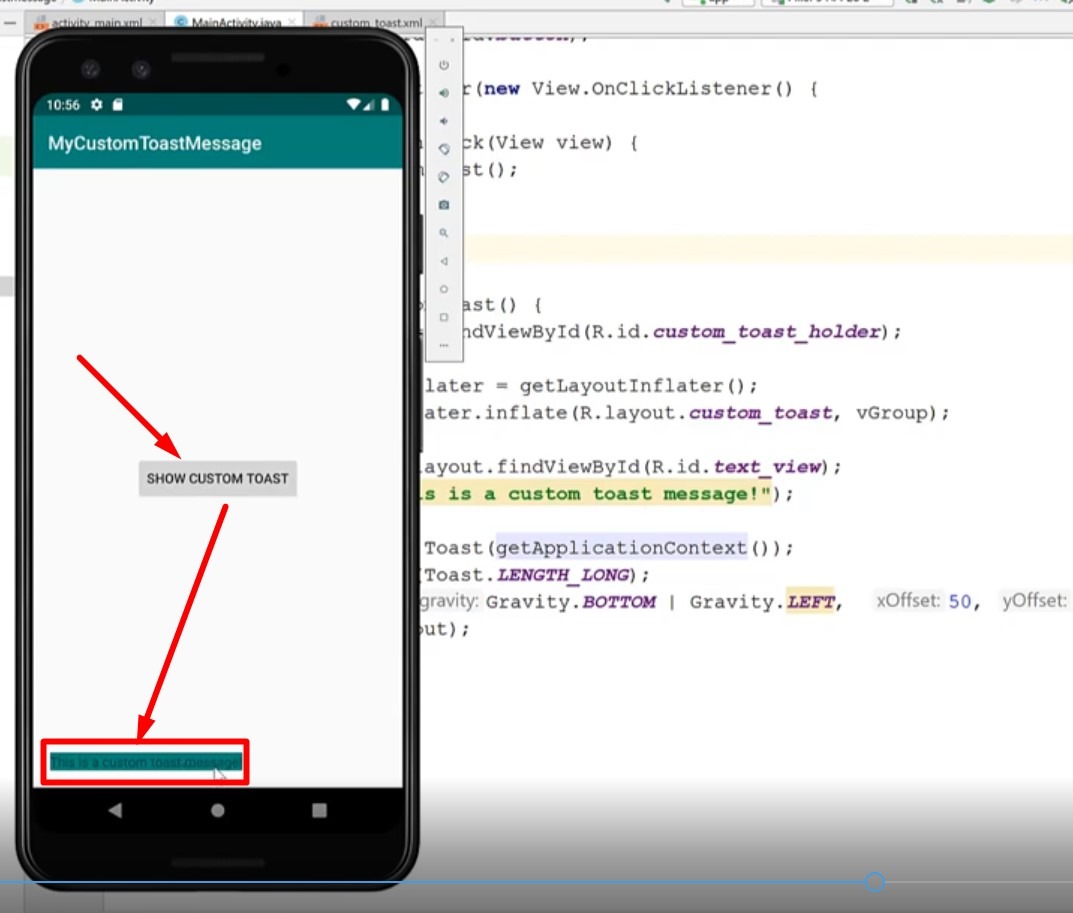
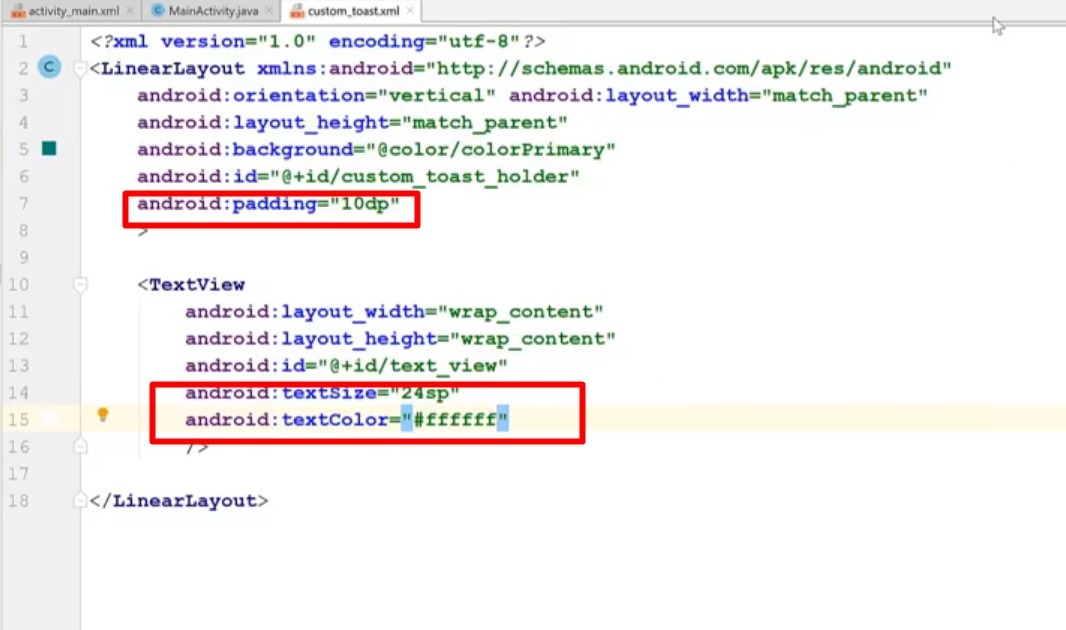
Well, the design for the toast message look ugly. We need to redesign it to look better.
We do that in the custom_toast.xml file.
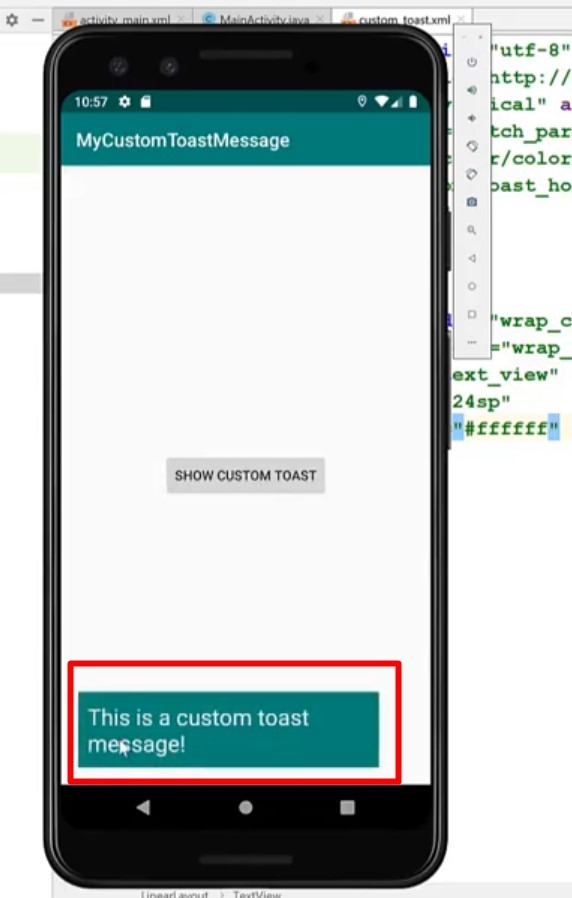
And this is how it look now:
Repositioning the Custom Toast Message
If, for example, you want to change the offset or the position where in the application the custom toast message should appear, then you need to play with the offset and gravity properties in the Java code.
We do that in the MainActivity.java file.
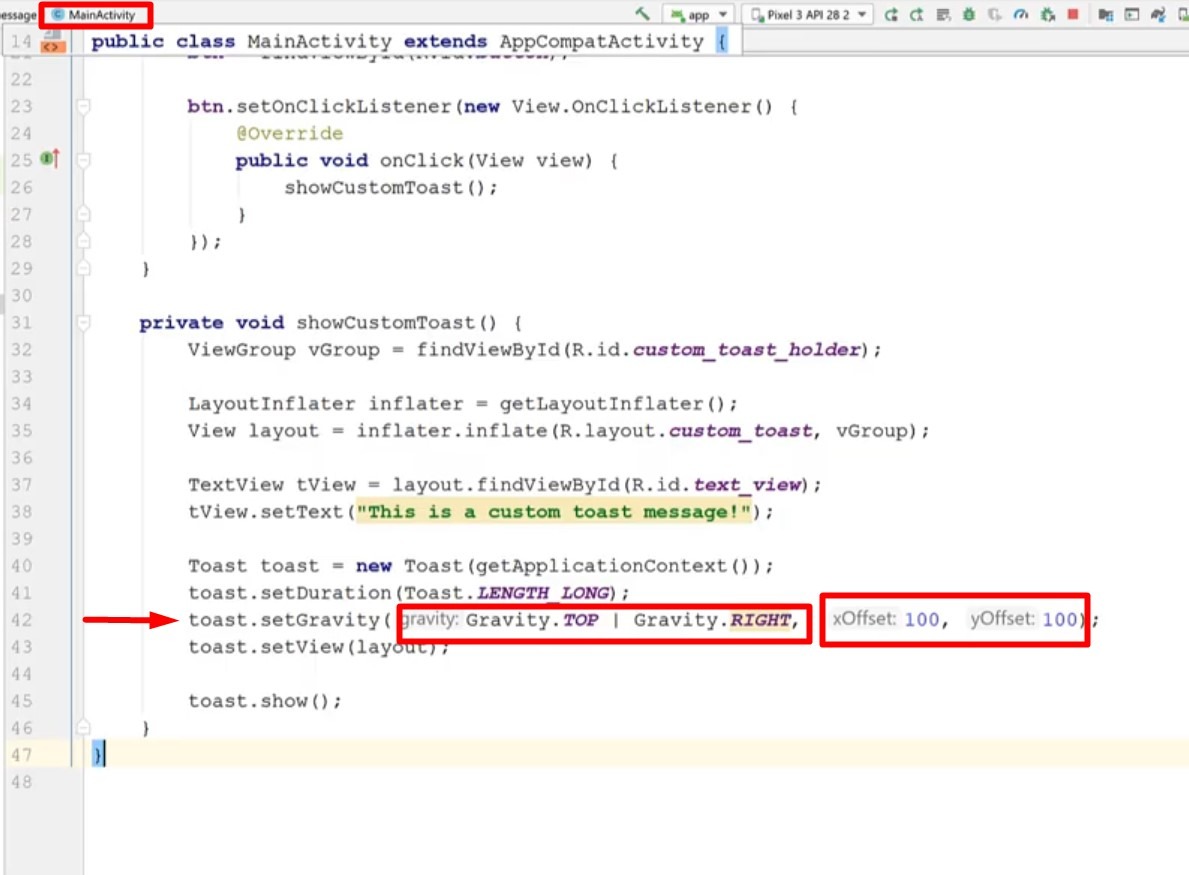
And, after repositioning, the final layout looks like this:
Hopefully this was useful to you.
Thanks for reading the article and watching the video!
![]()